
Introduction
I’m after my exams so with glass of wine I started to think about some interesting and fun project. Some time ago I found this guy. Most of his videos are about GNU/Linux and privacy topics.
I’m not a huge fan of idea that soyboys write soycode in soylanguages like JavaScript or python so I’m not interested in full Gentoo distribution that will take hours to compile and in the and I won’t read most of the source code of programs that I use.
I’m more into having minimal setup with some limits. And today I’ll present you Alpine linux [1] desktop with everything you need as a developer.
Alpine Linux
If you ever used docker you probably know this distribution. It’s really lightweight, ships with bare minimum that alows you to install necessary software on go.
To make this project I was also considering Tiny Core Linux [2] and I even made this same setup but since Tiny Core Linux required to load extensions during boot I decided to make it with Alpine Linux.
Software which will be used
VirtualBox configuration
First you need to download Alpine Linux ISO which can be found link: here
Then you need to setup your VirtualBox Machine.
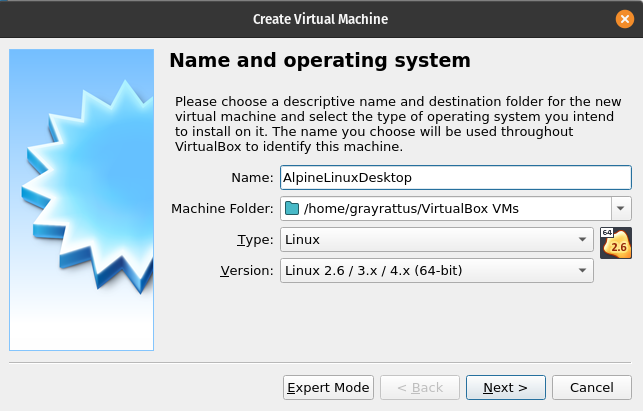
First we need to create Virtual Machine which will run Alpine Linux.
For that you need to clikc on New icon in VirtualBox.
When it comes to title of machine pick whatever you like and choose that it’s type of Linux.
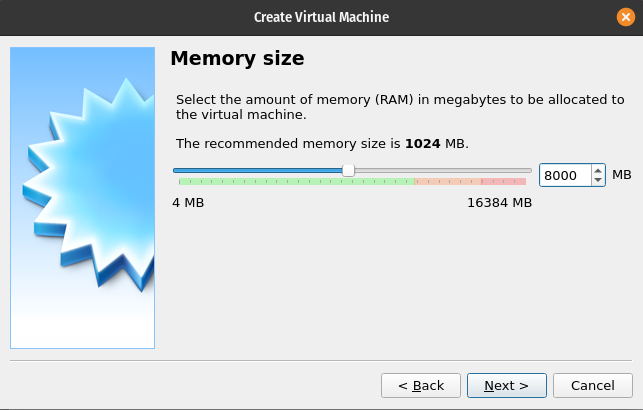
After that we go to next phase which is about seting right amount of RAM. Bare Alpine Linux should work on less than 100mb of RAM but because we will add Firefox and VSCode it’s good if you add at least 1Gb.
Next step is to add new hard disk on which we will install Alpine. Set it to Create a virtual hard disk now.
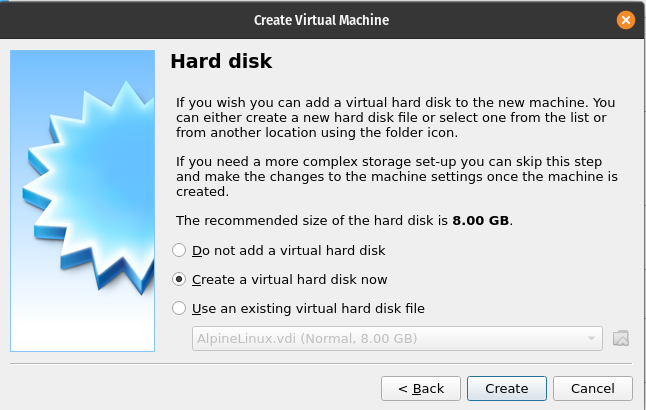
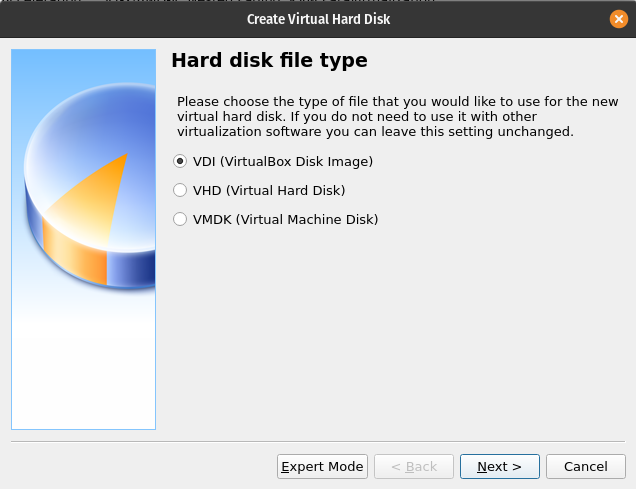
Now we need to choose hard disk type. In our case it does not really matter so we pick default.
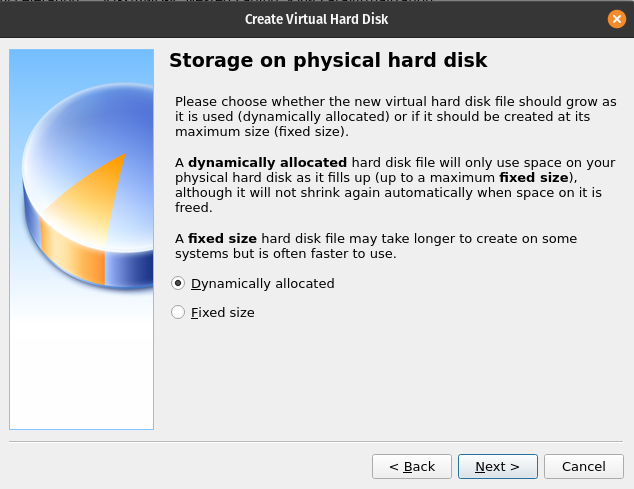
Last steps ar to pick how our disk will alocate data. Dynamically allocated by default is fine and last step is to set
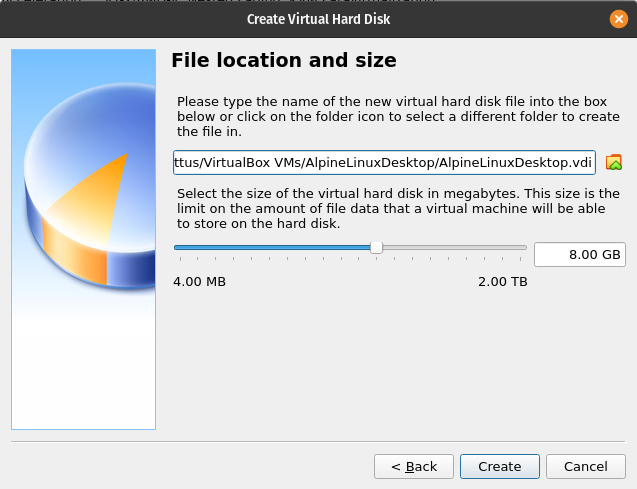
its size. For that choose more than 10Gb. This will be needed as VS Code and Firefox installed with
Flatpak takes some space.
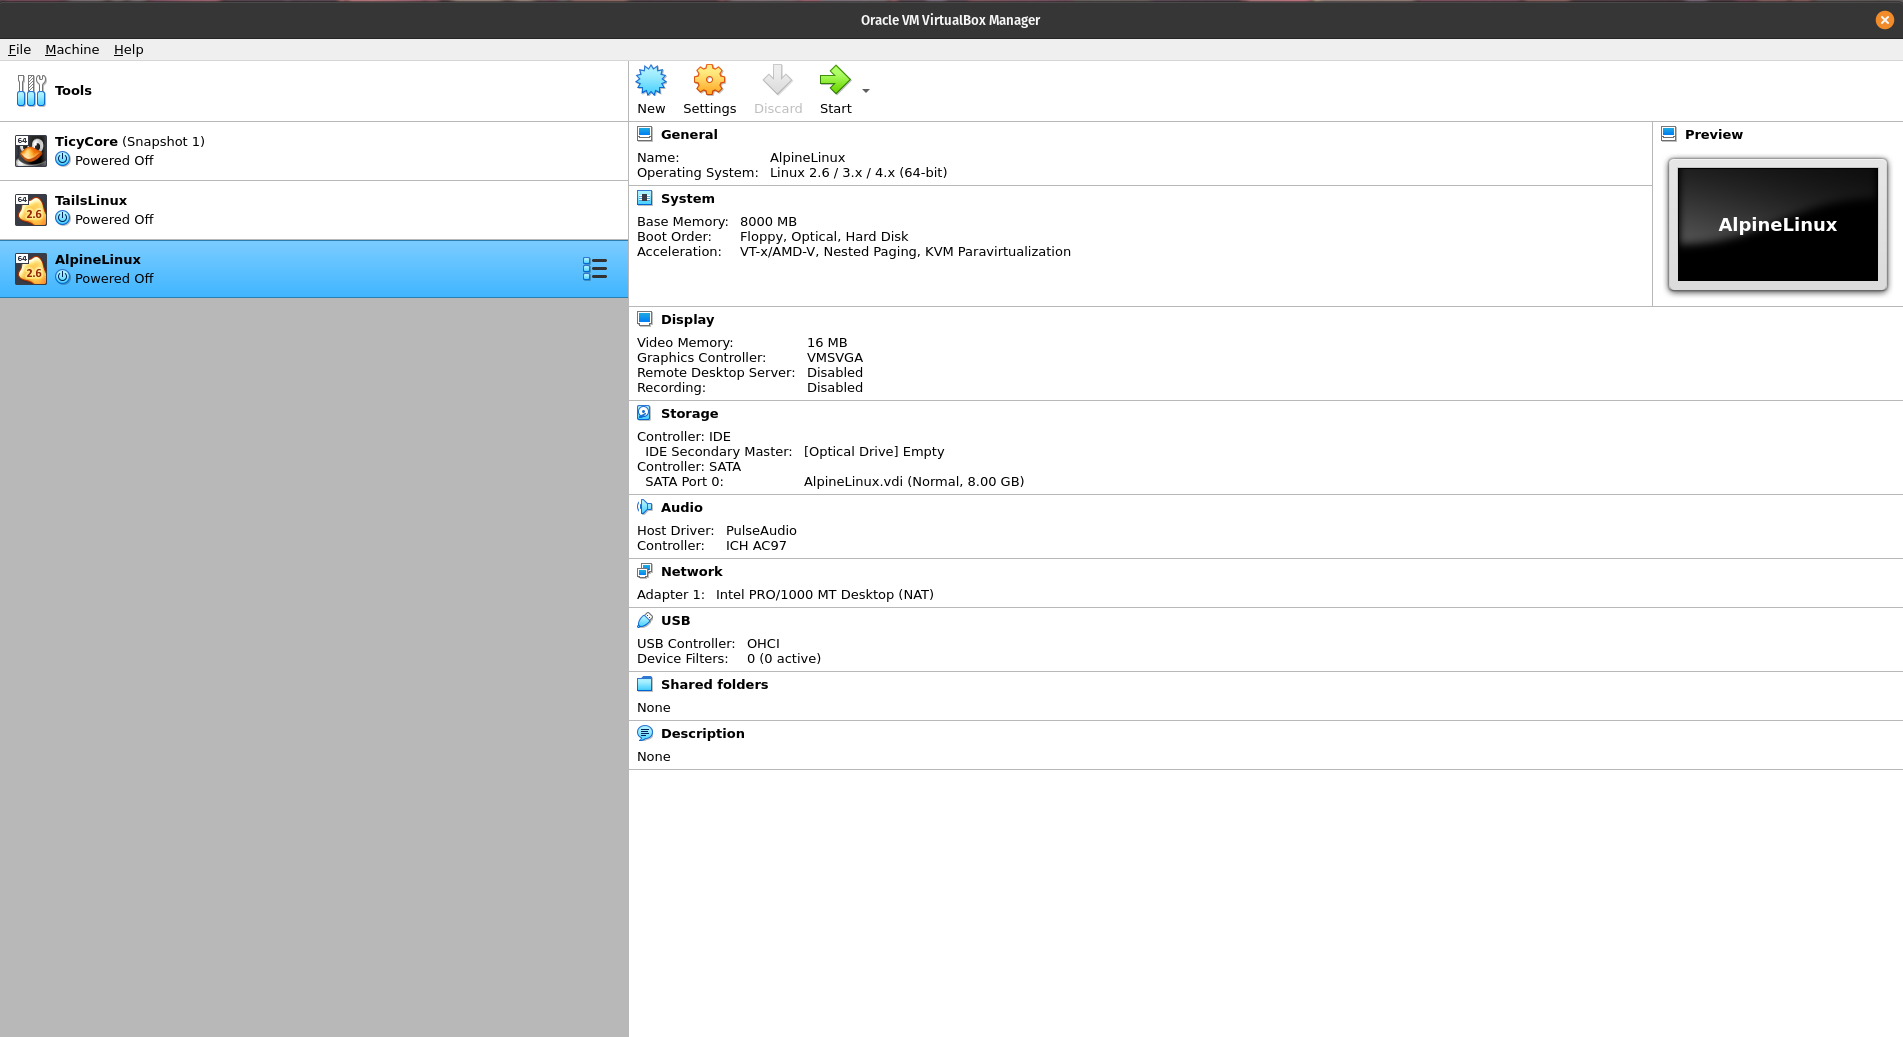
After these steps Virtual Machine is ready. Now we need to mount previously downloaded Alpine Linux ISO.
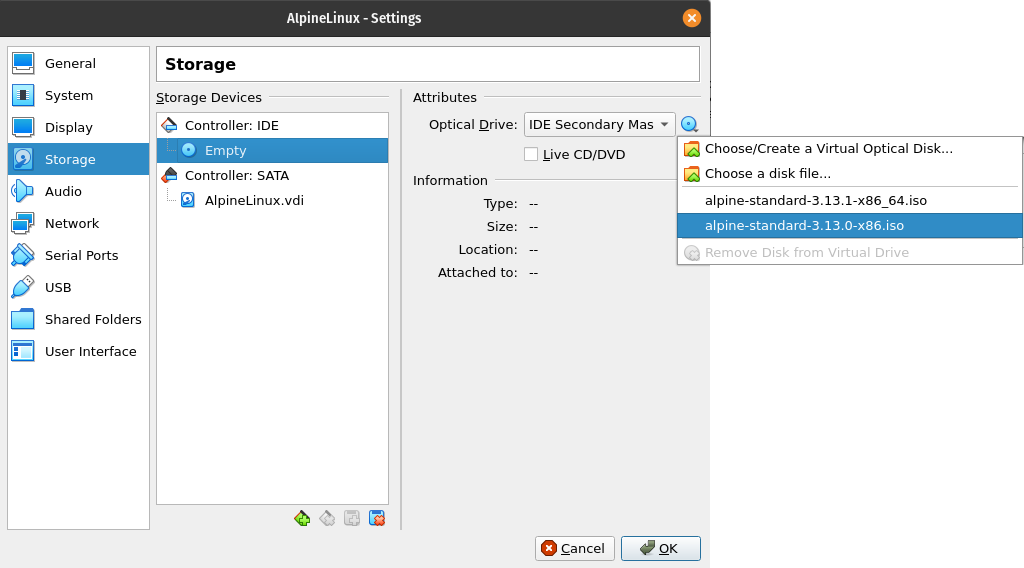
To do that you need to enter Machine settings and go to storage menu segment.
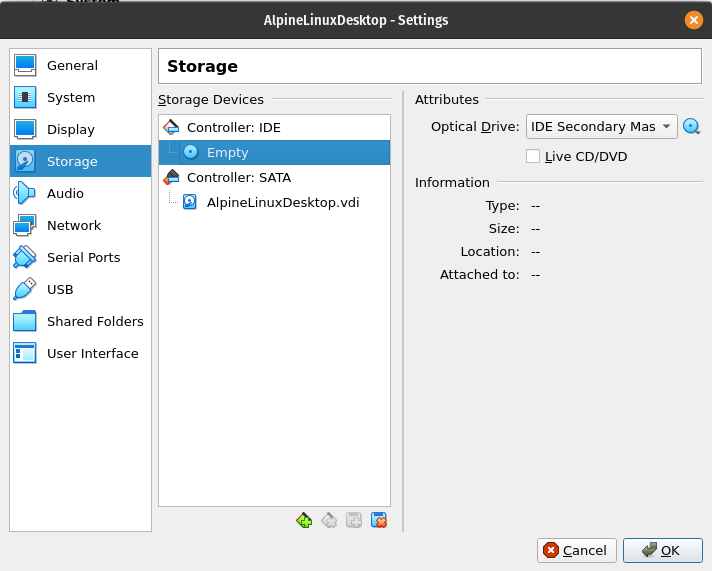
Click on Empty which should be right bellow Controller: IDE. Then on the right side you should have menu which allow
to mound images. It’s this small blue disk. When you click on it you need to provide path to Alpine Linux ISO.
After choosing image click OK at the bottom and let the fun begin.
Alpine Linux installation
After you run your Virtual Machine one of the first screens that you will see is this Alpine Linux login prompt.
To login you need to use default root account. Just type there root and press enter.
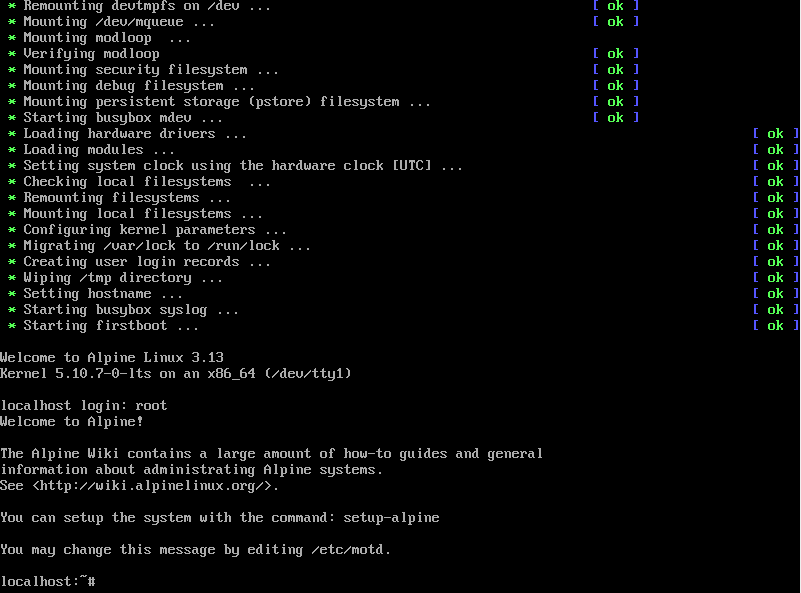
Previous steps should allow you to login. First command after login is setup-alpine which configures base Alpine Linux environment
and installs base system.
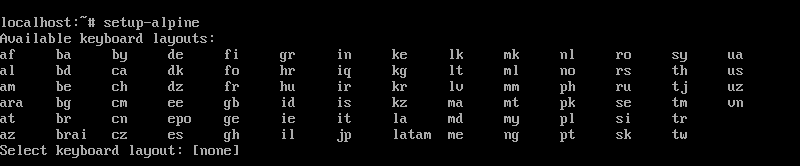
Write setup-alpine and press enter. After that pick your keyboard layout. For me it’s pl, pl.
setup-alpine with keyboard layoutThen press enter couple of times as default settings will work for our purposes. Stop a second to pick root password.
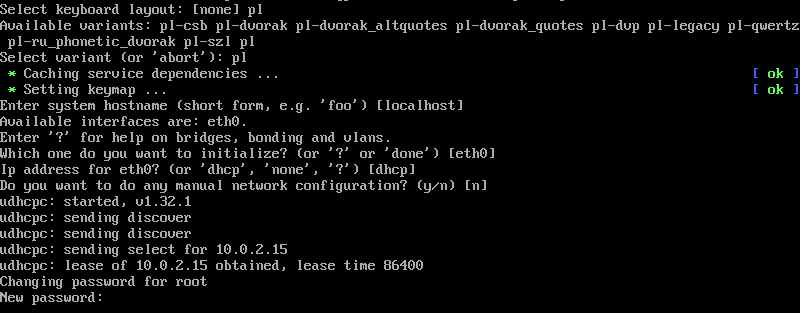
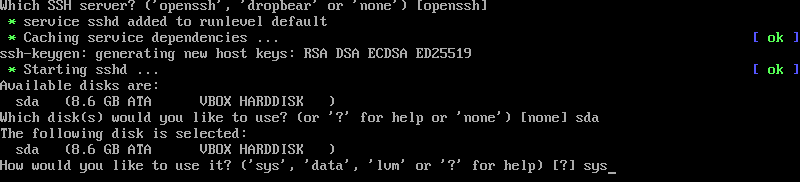
Then some more default settings till you see some information about disk selection. Here write sda and after that write sys.
Important:
This is really important. If you don’t pick the disk and choose sys Alpine Linux won’t be installed on Virtual Hard Drive.
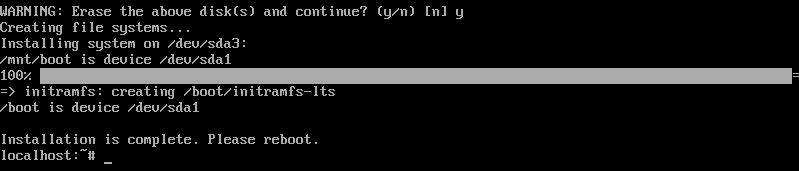
After these steps you should have Alpine Linux installed on your drive.
In VirtualBox machine menu click on File → Close… and shutdown machine.
After it’s shutdown you need to go to Virtual Machine settings and remove Alpine Linux ISO from place where it was previously mounted.
Important:
If you don’t do this step when you start Virtual Machine again you will be booted to fresh Alpine Linux environment but not the one you installed.
Setting up graphical environment
First start the machine again. In login prompt write root and then provide password you set during installation.
Now we will install xorg-server and dwm with its dmenu.
You can do that manually by writing apk add xorg-server but since it’s not avaialbe in core repositories of Alpine Linux you need
to add ones provided by community. It’s not a big ammount of work but Alpine Linux comes with handy script that allows you to setup xorg-server
and it’s basic dependencies.
Xorg setup
To install xorg server on Alpine Linux you need to run this script
setup-xorg-baseWhen you check what is inside this script cat $(which setup-xorg-base) you can see that what is does is adding community repositories and then
install xorg-server with basic dependencies.
After that we should create our normal user. To do that type
User setup
Now we need to add new user so we don’t user root account all the time.
adduser name_of_user_you_wantThis will create directory in /home and make basic configuration for newly created user.
After that we need to install some program that will allow us to get super user priviledges. Most
of Linux distributions comes with sudo which allows that but in our case we will go with something
smaller. By watching this Mental Outlaw guy I found one of his videos where he shows how to use
doas program. It’s much simpler to configure than sudo and for most of cases it should be fine
to use it. It’s not as configurable as sudo but the configuration process is just simpler.
doas installation and configurationapk add doas
echo "permit name_of_user_you_want as root" >> /etc/doas.confAnd that’s the full configuration you need. We could dig into groups setting but if it’s not some server with users you really don’t need that.
After that type exit to go back to login prompt and then login with newly created user
credentials.
DWM
Now we will download, compile and setup dwm. For that we need some dependencies.
doas apk add git make gcc g++ libx11-dev libxft-dev libxinerama-dev
 ncurses dbus-x11 adwaita-gtk2-theme adwaita-icon-theme ttf-dejavu xterm
As dwm must be configured by changing its source code it’s good to clone it to some directory
that can be used later.
mkdir dwm-source && cd dwm-source
git clone https://git.suckless.org/dwm
cd dwm
doas make clean install
cd ..
git clone https://git.suckless.org/dmenu
cd dmenu
doas make clean install
After these command we should have dwm and dmenu installed. But dwm is not starting by default.
For that we need to add some configuration for .xinitrc and .profile.
echo "exec dwm" >> ~/.xinitrc
cat >> .xinitrc << EOF
if test -z "$DBUS_SESSION_BUS_ADDRESS" ; then
    eval `dbus-launch --sh-syntax`
fi
EOF >> ~/.xinitrc
echo "exec startx" >> ~/.profile
After all these commands type exit and login again.
Firefox, VS Code
After you logged in it’s good to dig a bit into how to use dwm, dmenu as it’s much different than
you would expect from casual window manager.
alt + p- opensdmenuwhere you can run applicationsalt + [1,2,3,4,5,6,7,8,9,0]- switch to specyfic tag. Tags are more or less workspaces in which you can start applications.
Finally we will setup Firefox and VS code. Firefox can be installed from community repository of
Alpine Linux but we will do something different. There is something called flatpak on Linux.
What this does it allows you to install packages for a lot of Linux distributions that come with
all necessary dependencies to run them.
doas apk add flatpak
doas flatpak remote-add --if-not-exists flathub https://flathub.org/repo/flathub.flatpakrepo

doas flatpak install flathub com.visualstudio.code
doas flatpak install flathub org.mozilla.firefox
doas flatpak install flathub com.microsoft.Teams
Final look
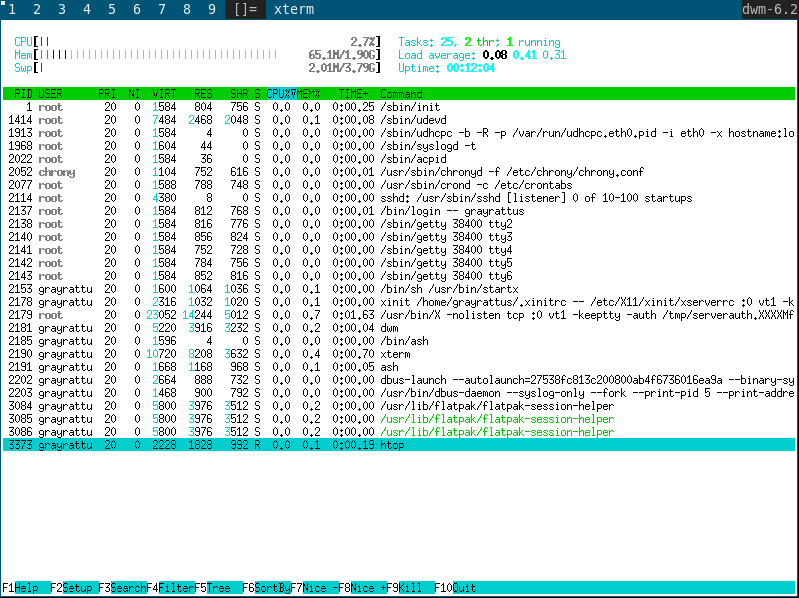
htop with all processes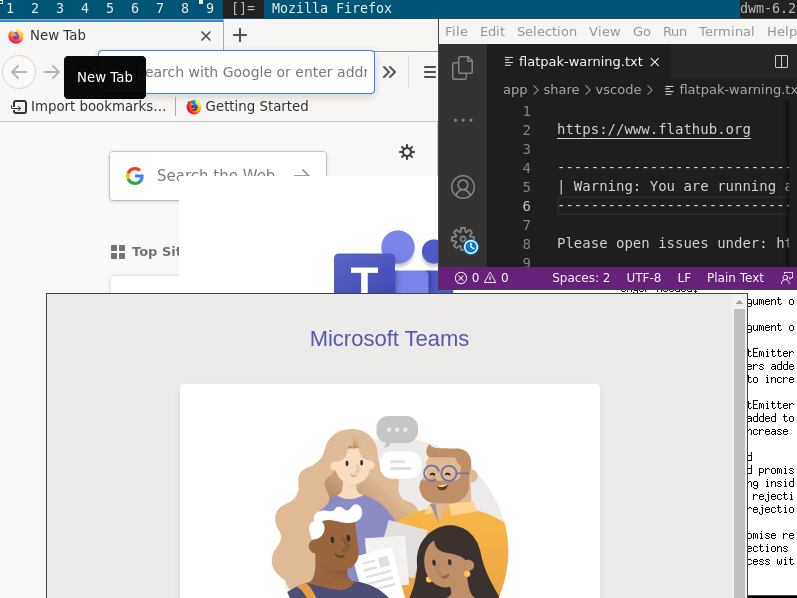
Conclusion
It was a fun project to make desktop version of Alpine Linux. I really working with Alpine and I think it’s possible
in the future I will compleately move to Alpine Linux as it’s really intuitive to work with. Another thing that hooked me into using Alpine Linux
is how lightweight it is. I think with minimum configuration you can really get bellow 50mb of RAM.
There are some things that haven’t been installed.
alsa-utilsfor audio. Currently audio is not working. I tried to set it up in virutal box but there were some issues I could not pas.arandrwhich would allow to change resolution in GUIacpictlfor laptop features such as battery, docking station etc.
One last thing. If you have some problems setting this up you should check documentation od Alpine Linux [7]. Their article about dwm is amazing.
And that’s it! Now I need to go back to finally pass Linear Programming course.
Sources
[1] “Index | Alpine Linux.” https://www.alpinelinux.org/.
[2] “Tiny Core Linux, Micro Core Linux, 12MB Linux GUI Desktop, Live, Frugal, Extendable.” http://www.tinycorelinux.net/.
[3] “Dwm - Dynamic Window Manager | Suckless.Org Software That Sucks Less.” https://dwm.suckless.org/.
[4] “Tools | Suckless.Org Software That Sucks Less.” https://tools.suckless.org/dmenu/.
[5] “Doas(1) - OpenBSD Manual Pages.” https://man.openbsd.org/doas.
[6] “Oracle VM VirtualBox.” https://www.virtualbox.org/.
[7] “Dwm - Alpine Linux.” https://wiki.alpinelinux.org/wiki/Dwm.
[8] “X.Org Server,” Wikipedia. https://en.wikipedia.org/w/index.php?title=X.Org_Server&oldid=999925604, Jan. 2021.