
Introduction
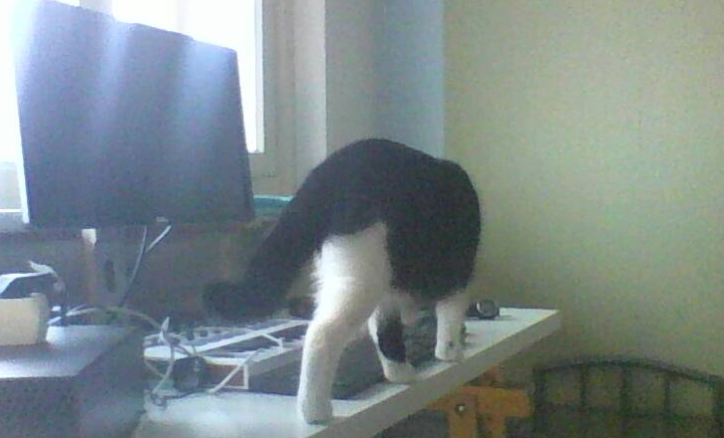
More than a week ago we adopted a new cat. Her name is Raza but we think about changing it to Raja.
Raza is a really interesting cat and I think we never had a cat with such energy, shyness, and will to scratch before! Since we got her from the cat shelter we could not be close to her. She’s just too scared to do anything.
After a couple of days, she was not eating we decided to leave her alone for more than 24h in the room and to check how does she feel I decided to install a cat monitoring system.
Small research
Before using Zoneminder [1] I actually tried two different things.
The First was discord. I decided to call my fiance on discord and that would open a server that we could join from multiple devices. Sadly this did not work as expected as right after 10 minutes of the second call previous one was canceled.
Next was Meta messenger but I did not want to have my room monitored by Lizard employees.
After a bit of research, I finally found Zoneminder.
Docker + Zoneminder + bunch of webcams
Before using the docker image I installed Zoneminder locally and it was also working. The only problem was that it was not really easy to replicate it on other systems and that’s the main reason why I used Docker image [2] later.
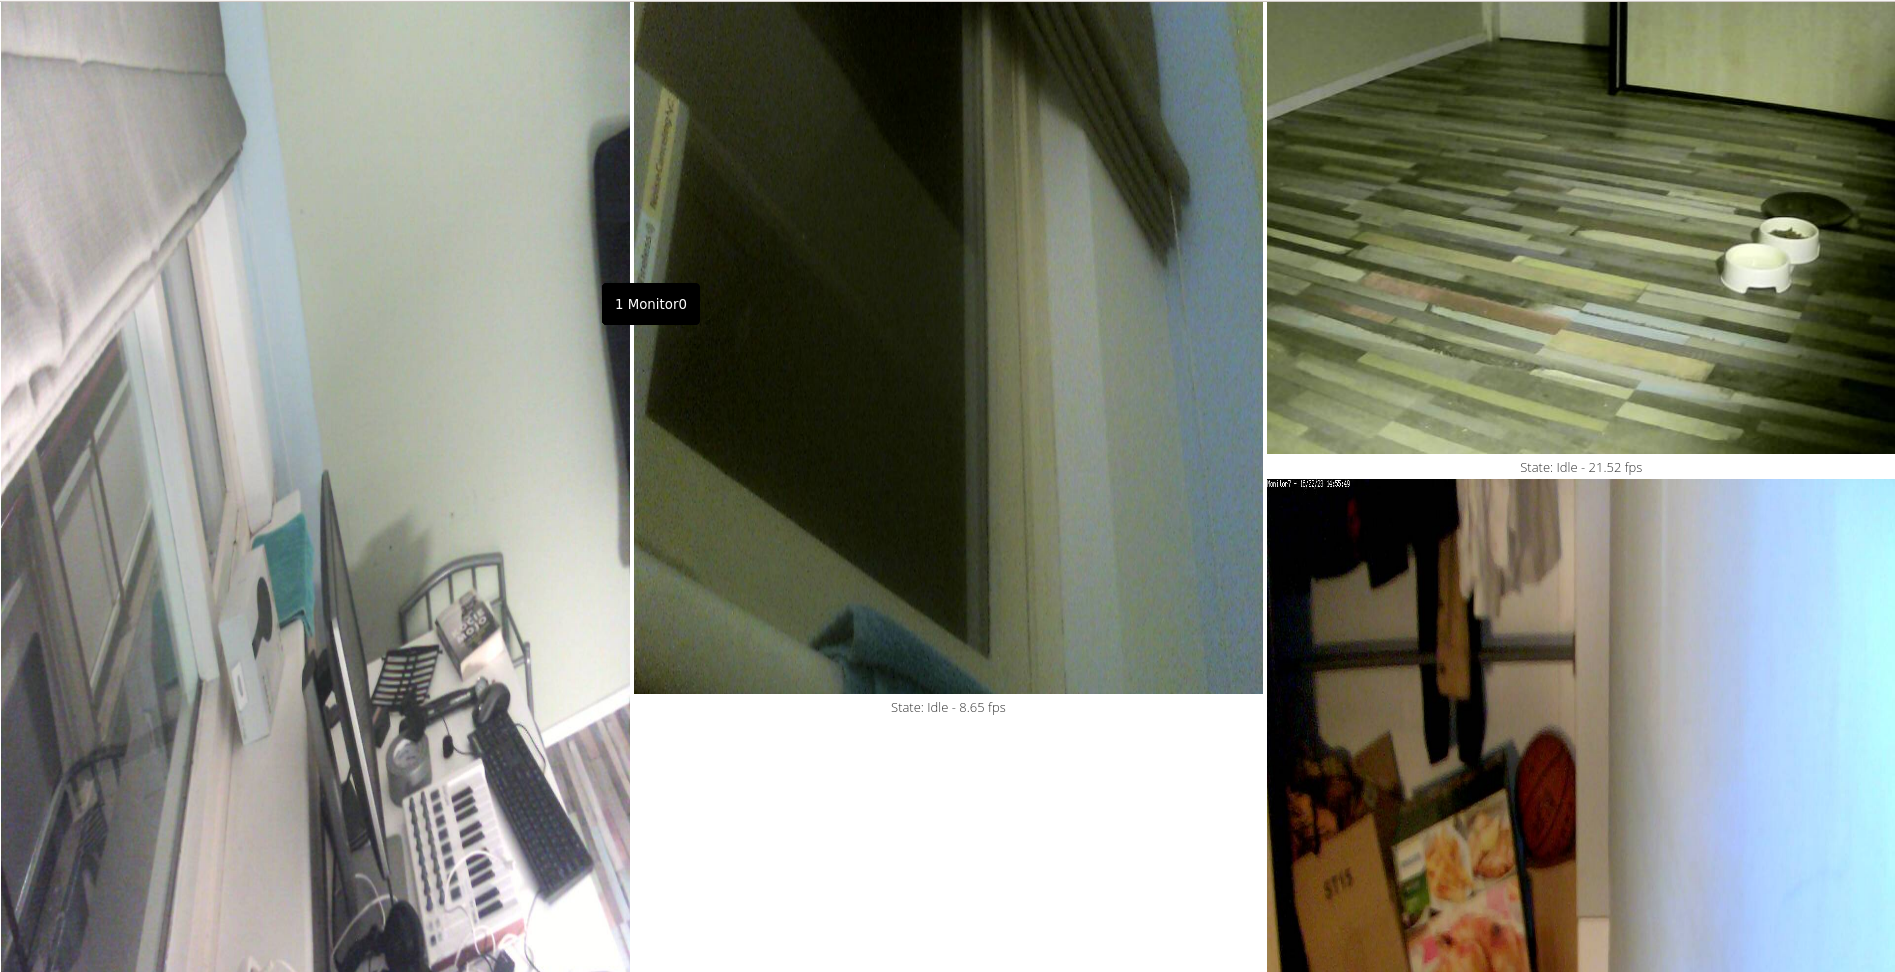
Here you can see the output from the cameras. It’s not great. Sometimes FPS is like 2 but still, it’s mostly an issue with my hardware.
How to set up yourself?
First, you need to install docker [4]. When it’s installed you need to connect webcams to your Linux machine and find all video devices on your Linux system. To do that use.
➜  ~ ls /dev/video*
/dev/video0  /dev/video1
Next, find all devices that are actually ones that allow capturing video. For this go through all found devices and use ffplay [3] tool to preview the capture.
ffplay. This opens your window with a preview of your webcam.ffplay /dev/video0Once you have a list of devices that allow capturing video you need to start Zoneminder docker image.
docker run --rm --name="Zoneminder3" \
--net="bridge" \
--privileged="false" \
--shm-size="8G" \
-p 8443:443/tcp \
-p 9000:9000/tcp \
-p 8080:80/tcp \
-e TZ="America/New_York" \
-e PUID="99" \
-e PGID="100" \
-e INSTALL_HOOK="0" \
-e INSTALL_FACE="0" \
-e INSTALL_TINY_YOLOV3="0" \
-e INSTALL_YOLOV3="0" \
-e INSTALL_TINY_YOLOV4="0" \
-e INSTALL_YOLOV4="0" \
-e MULTI_PORT_START="0" \
-e MULTI_PORT_END="0" \
--device="/dev/video1:/dev/video1" \
--device="/dev/video3:/dev/video3" \
-v "/mnt/Zoneminder":"/config":rw \
-v "/mnt/Zoneminder/data":"/var/cache/zoneminder":rw \
dlandon/zoneminder
Most of the flags from this command can be found in the documentation of the docker image but I’ll describe the most important ones for you.
-pbinds ports from the host machine to the docker container. It’s important to have8080mapped to some port that will be accessible on your host machine. It can be80or2137or any port that is free.-esets up docker container environment variables--device[5] allows you to pass devices to the container without the need of allowing all of them to be accessible. Basically, you can either use--privilegedflag that allows the running container to use all host devices or specify them one by one. The second option is safer as first one is described likeDocker will enable access to all devices on the host as well as set some configuration in AppArmor or SELinux to allow the container nearly all the same access to the host as processes running outside containers on the host..-vmounts volume that will share data between your host machine and docker container. This way all settings you make in Zoneminder will persist after the container is stopped.
And that’s it! After all of that, you should be able to visit localhost:80/zm and see the Zoneminder interface.
When you go to the Console part of the web user /zm/?view=console you should be able to see an empty set of devices. Click the Add button which should open your view similar to this one.
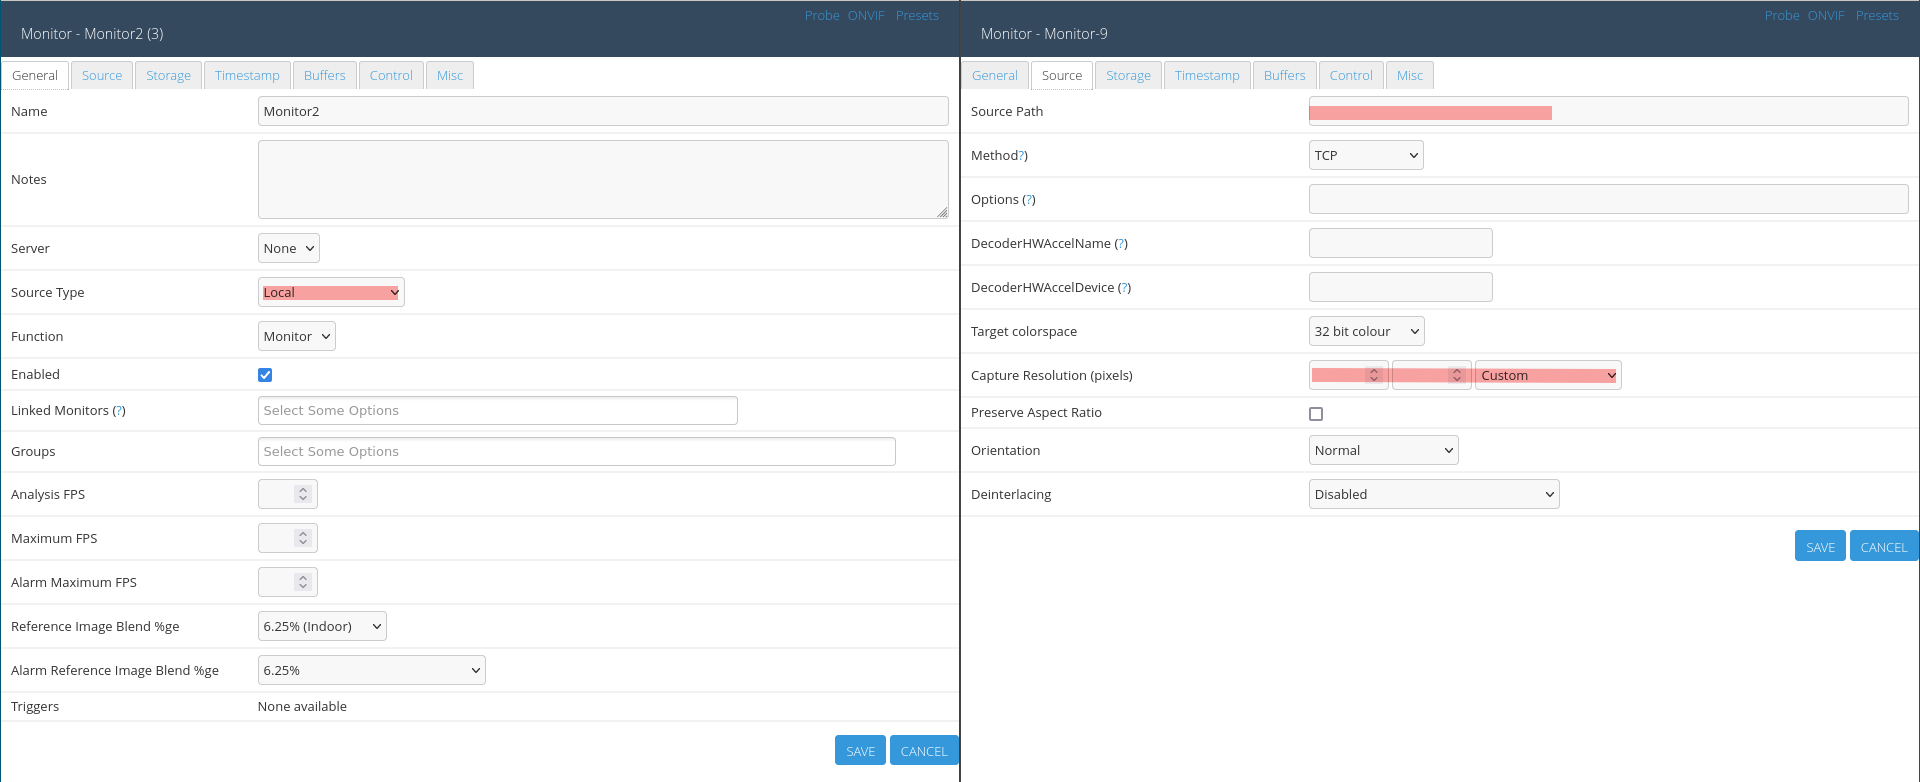
You are interested in two tabs of this window. The first is General and the second one is Source.
In general, you need to change Source Type to Local. That means that the source will come from local devices such as web cameras you connected before.
Next, go to Source tab. There are two things you are interested in. The first is Source Path. You need to set it to one of the deceives you put into --device docker flag. Example: /dev/video1. Next, you need to set the resolution of your camera in pixels. If this property is not set properly Zoneminder will not be able to capture video. I’m not aware of another way to find this value than simply adding device without this property and set it up and later with value that can be found in logs which prints which resolution should be applied.

This resolution should be copied to device source mentioned before. You can open the device properties window again by clicking Source column.
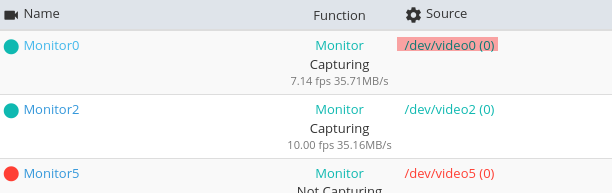
After you set the proper resolution you should be able to see created Monitor that is marked as a green dot.
One last important part is about security. Currently, no authentication is set up and if you would connect your device to the internet and port forward settings in your router to make it available globally anyone could see your Zoneminder console.
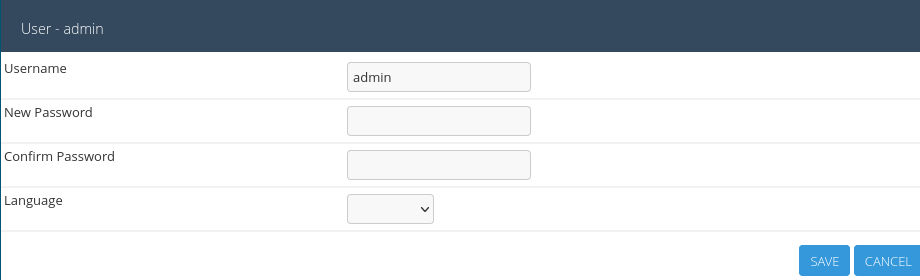
To change that first go to Options → Users → admin and set a password for it.
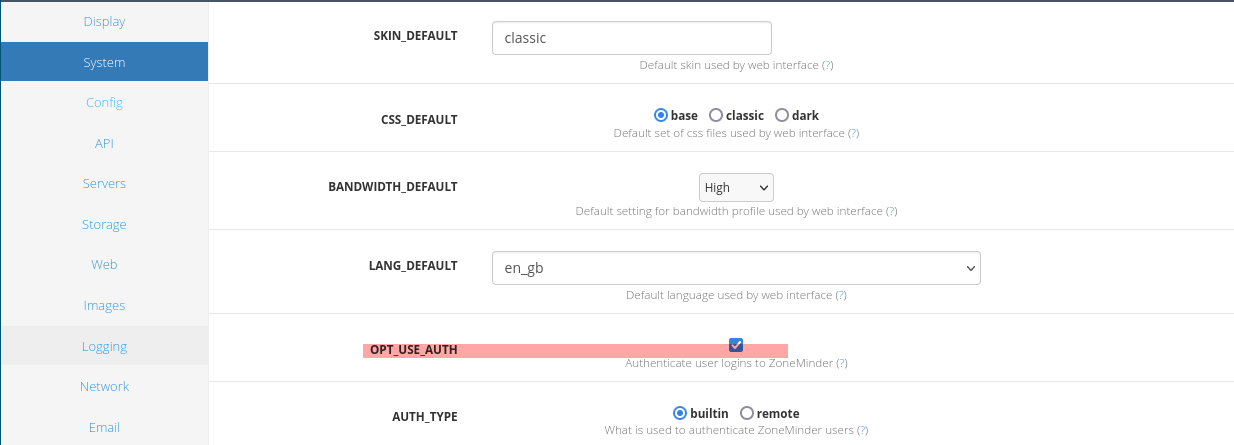
After the password is set up you can turn on the authentication system. Go to Options → System and check OPT_USE_AUTH. When this is set up and saved you should be logged out and the login screen should be visible. Type there admin and the password you created before.
And that is it! Now you have your private monitoring system for free. Pretty cool huh?
Issues I had to fix
The biggest one was the limited amount of USB cameras you can connect to different motherboards of PC/laptops. I had no idea that there is such a thing and for like 3 hours I tried to run my old HP laptop which was constantly throwing errors about not having enough space on the device. I managed to find a solution on some really old Linux forum which was simply to connect the cameras to the desktop. This made me connect everything to my current home server.
The second issue was a problem with camera resolutions. I have no idea why by default Zoneminder does not set proper camera resolution and after you connect 4 cameras the log start to be so messy it’s really hard to dig which camera is not properly set up.
Lastly, every time you connect a USB camera to your Linux it will have a different /dev/video* identifier. There is a way to fix it but I decided not to since I’m not planning to turn off the server and whenever it will shut down by lack of power I still need to manually set up some services.
Conclusion
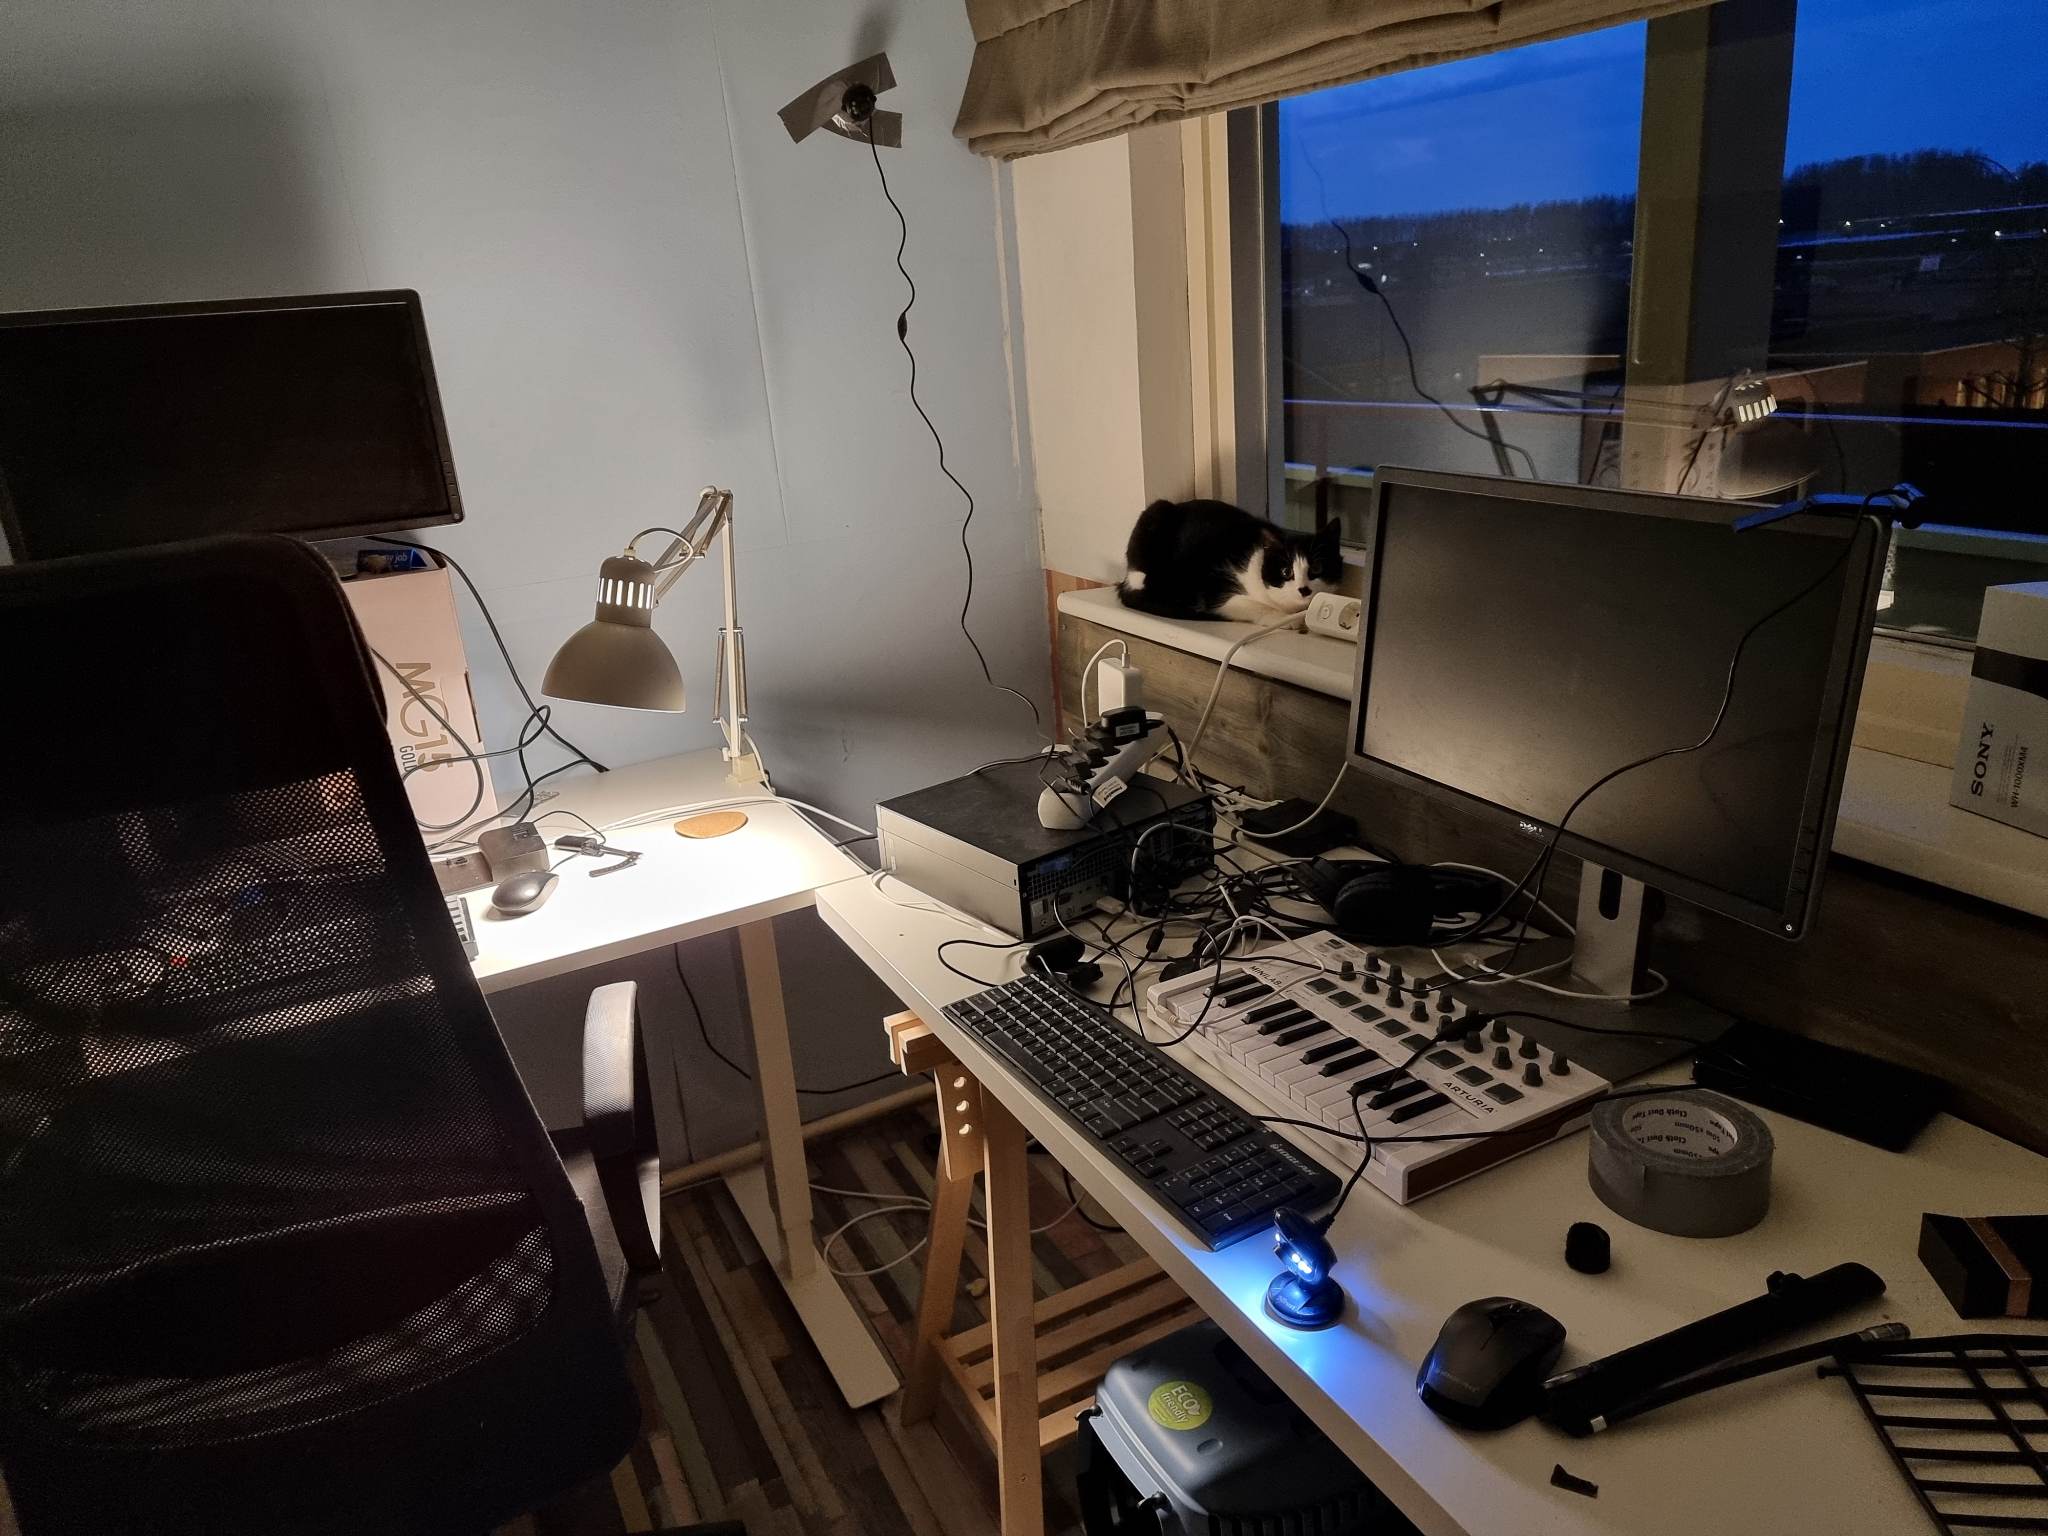
With a few webcams, a bit of duct tape, PC or laptop and you can have your own monitoring system!
PS. She started to eat!
Sources
[1] “ZoneMinder - Home.” https://zoneminder.com/.
[2] “Docker Hub.” https://hub.docker.com/r/dlandon/zoneminder/.
[3] “Ffplay Documentation.” https://ffmpeg.org/ffplay.html.
[4] “Install Docker Engine,” Docker Documentation. https://docs.docker.com/engine/install/, Feb. 2023.
[5] “Docker Run Reference,” Docker Documentation. https://docs.docker.com/engine/reference/run/, Feb. 2023.